Repairing a Scratched Acrylic Watch Crystal
May 6, 2013
I recently purchased a Sekonda branded mechanical alarm wristwatch, made in the USSR in the early 1990s. In addition to needing a complete overhaul of the Poljot (Полет) 2612.1 movement (which I cover in my article, Restoring a Mechanical Russian Alarm Watch), the acrylic crystal was badly scratched. Here I describe how I restored it to like-new condition.

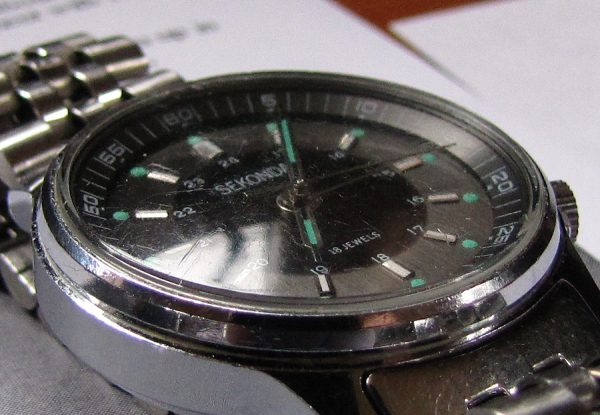
A close-up of the upper half of the watch shows the deep scratches at 12 o'clock, and some more over the "Sekonda" label.
To remove scratches in any surface, the surface must be uniformly lowered to the level of the bottom of the deepest scratch. A crystal with only very light scratches is easily polished using watch crystal polish, car headlight polish, or Brasso. Any of these will remove enough material from the crystal to eliminate such scratches.
Deeper scratches like the ones in this crystal need a more serious approach. Using a polish would require days of rubbing to remove enough material to eliminate these scratches. Instead, one starts with much coarser abrasives. For this project, I used a set of Micro-Mesh sanding pads, purchased from Lee Valley Tools.
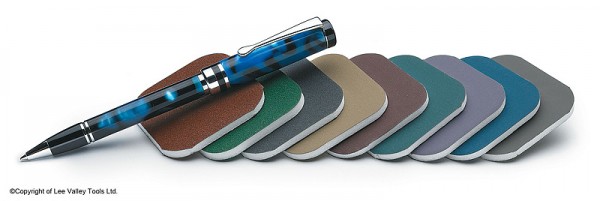
A set of Micro-Mesh sanding pads for polishing pens. Photo courtesy of Lee Valley Tools.
After removing the movement from the watch, I clamped the case into a case holder. To ensure that I wouldn’t sand the posts of the holder, I put a small block of wood of the appropriate thickness under the watch case.
I started with the 1800 Micro-Mesh (approximately 15µm abrasive particle size, equivalent to 600 or P1200 sandpaper), working my way up through the grades to the 12000 (approximately 2µm particle size).
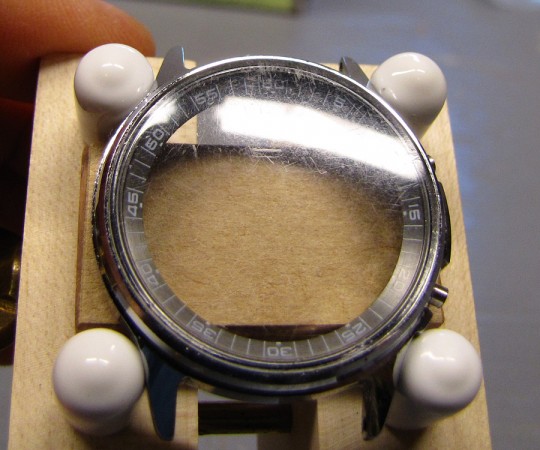
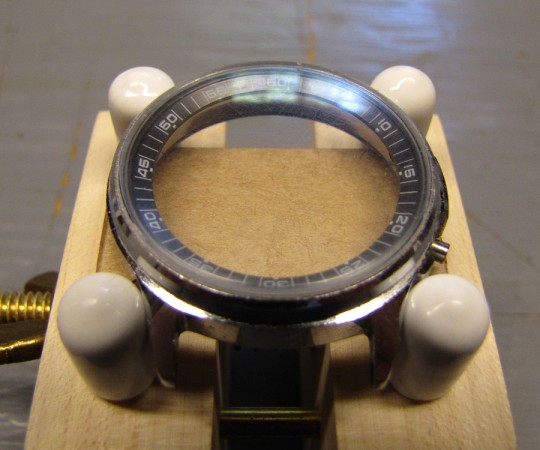
With the first (coarsest) pad, the idea is to remove all of the existing scratches. In the photo above (and the one below), one scratch is still visible at 9 o’clock, so I went back and redid the 1800 and 2400 steps before proceeding.
It is important to sand the entire surface of the crystal with each grade of abrasive. If one were to sand only the initially scratched areas, the crystal would end up with flat or low spots, looking uneven when finished, and giving a distorted view of the watch dial.
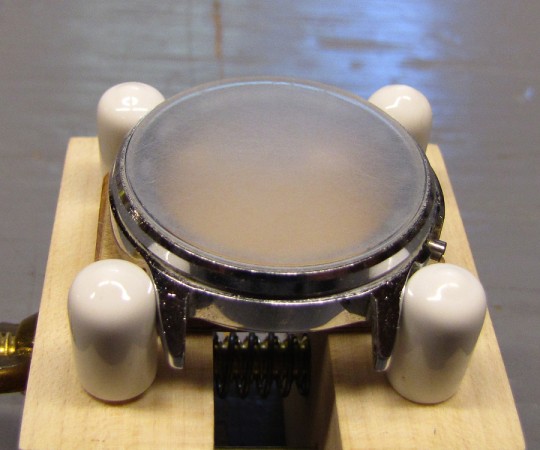
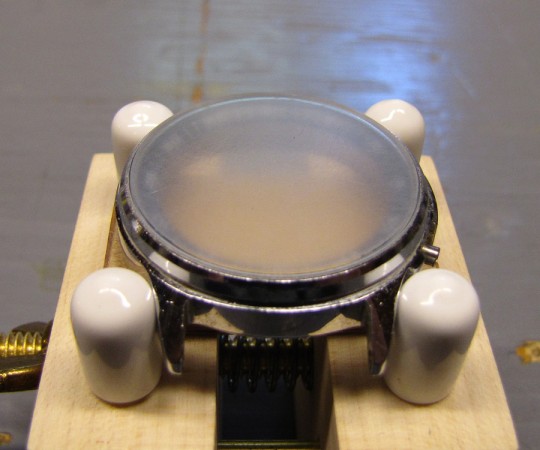
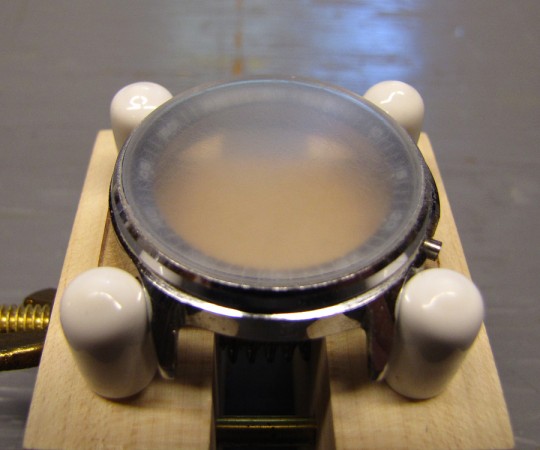
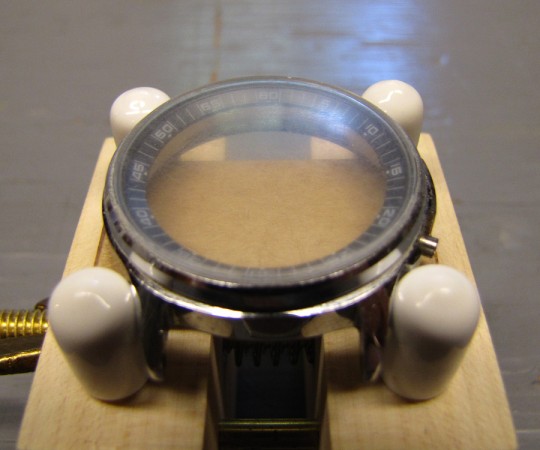
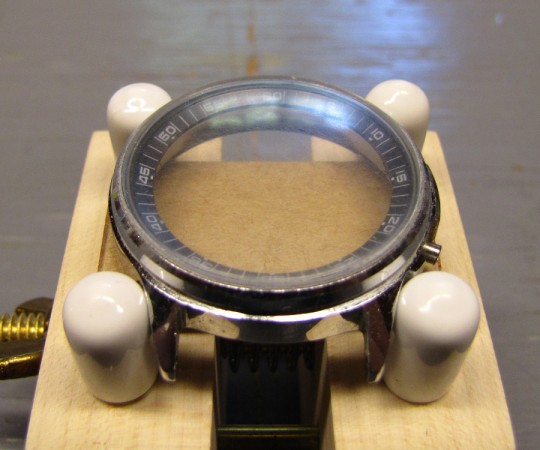
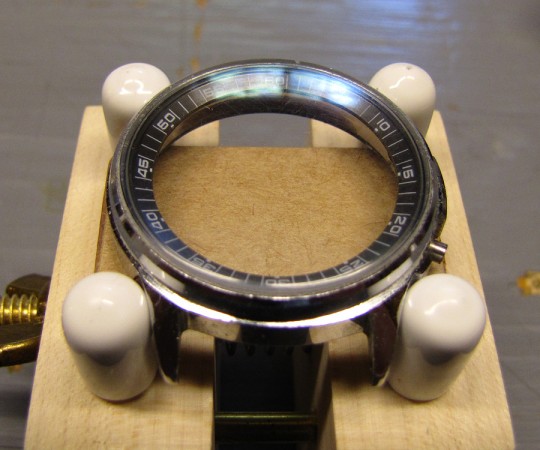
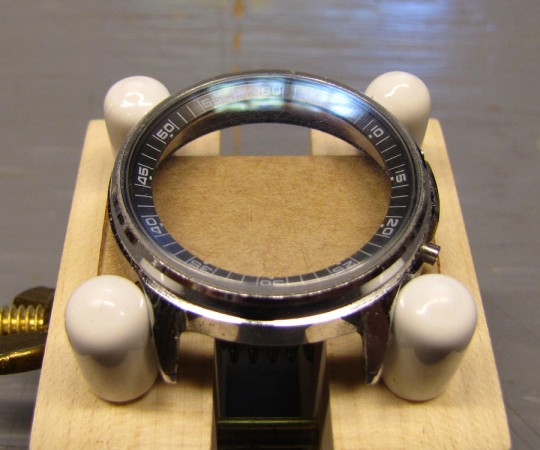
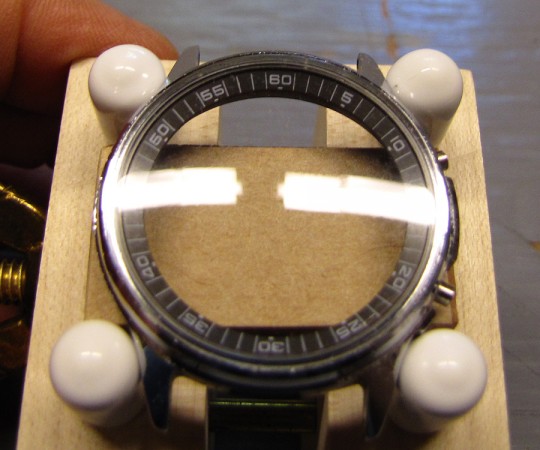
The goal with each subsequent finer abrasive is to remove all of the scratches left by the previous coarser abrasive. The sequence of photos shows the progress as I worked my way up through each grade of Micro-Mesh pads.
I sanded in small circular motions with each pad, turning the case holder periodically. I continued sanding with a given grade until the crystal was uniformly transparent and would not get any smoother or clearer, and then moved on to the next grade.
One thing I discovered is that the pads quickly filled up with acrylic dust, but this was easy to remove by wiping the pad on thick soft fabric (my jeans). This is important, because the abrasive is not very effective if the spaces between the particles are clogged.
One could stop after the 12000 Micro-Mesh, as the crystal is already clear, with very fine scratches that can only be seen with a magnifying glass. However, a final polishing with a plastic polish makes it really shine like new. I used Meguiar’s PlastX, intended for polishing car headlights.
The entire process, including taking the pictures for this article, took only 35 minutes.
Acrylic crystals scratch far more easily than mineral glass or sapphire crystals, but as illustrated here, they are also far easier to repair if they do become scratched. Furthermore, they are much less fragile, making them ideal for watches that experience rough use.
Related Articles
If you've found this article useful, you may also be interested in:
- Building a Musical Sunrise Quartz Alarm Clock
- Making Custom Watch Dials
- Why Negative LCDs Are So Hard to Read
- A Riff on a Russian Navigator’s Watch
- Turn a NATO Strap into a Two Piece Watch Strap
- Restoring a Mechanical Russian Alarm Watch

If you've found this article useful, consider leaving a donation in Stefan's memory to help support stefanv.com
Disclaimer: Although every effort has been made to ensure accuracy and reliability, the information on this web page is presented without warranty of any kind, and Stefan Vorkoetter assumes no liability for direct or consequential damages caused by its use. It is up to you, the reader, to determine the suitability of, and assume responsibility for, the use of this information. Links to Amazon.com merchandise are provided in association with Amazon.com. Links to eBay searches are provided in association with the eBay partner network.
Copyright: All materials on this web site, including the text, images, and mark-up, are Copyright © 2025 by Stefan Vorkoetter unless otherwise noted. All rights reserved. Unauthorized duplication prohibited. You may link to this site or pages within it, but you may not link directly to images on this site, and you may not copy any material from this site to another web site or other publication without express written permission. You may make copies for your own personal use.
Martín
July 19, 2017
Dear:
I really found your page impressive. The information you provide is really useful and great. This process you indicate are also useful to remove scratches from a damaged CD-ROM. I also must thank to the electronic circuits you provide (The usb charger is a very good project).
Thanks again!
Martín
Martin
August 03, 2018
Thank you so much for your informative article. I purchased the same watch, branded as a Poljot, which was in a similar condition. I had a go at repairing the Acrylic crystal as you described, with great success. I’m really happy with the watch, it looks great, draws attention, and has quickly become a favourite..
liz
February 09, 2020
I used an anlternative to the sandpaper method to polish my watch’s glass, as I didn’t have sandpaper in the house. I started off with a suede cleaner block, and then used the blue side of a pencil eraser and finished off with the brown side of the eraser. The glass looked really good, although to be honest, it needed the really fine sandpaper finish. But I thought of something else to give it a nice shiny, like-new, appearance: nail polish hadener (I suppose clear nail polish would have done the job just as well). Now my watch has a clean, shiny, just-out-of-the-box look. Also, the nail hardener will protect it from minor future scratches and can be easily be taken off and re-applied as and when is needed!
Hope my experience helps others 🙂