A Display Case for My Slide Rule Collection
January 24, 2016
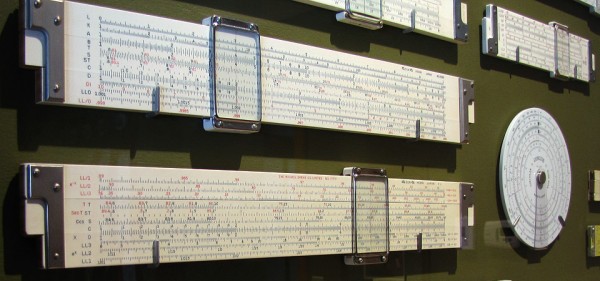
I’ve been collecting slide rules since 2007, and until now, have kept my collection in a large shoebox in a drawer. I have been wanting to build a proper display case for them for a few years now, and finally got this project underway over the 2015 Christmas holiday.
One requirement I set myself, besides the obvious one of being able to see the slide rules, is that it be easy to take a rule out to use it or simply examine the other side. I considered several designs with top- or side-hinged glass doors, but finally settled on a display board with an easily removable frame.
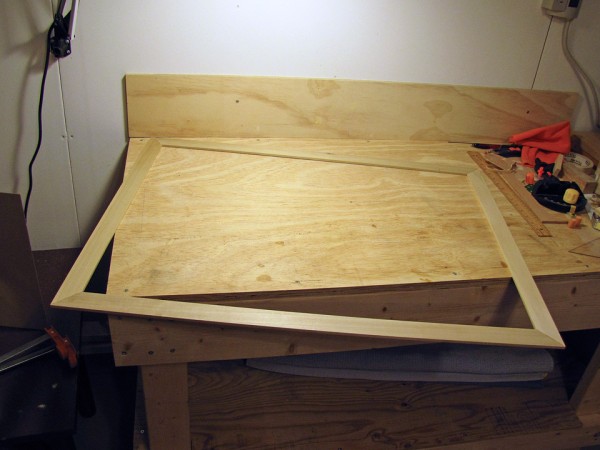
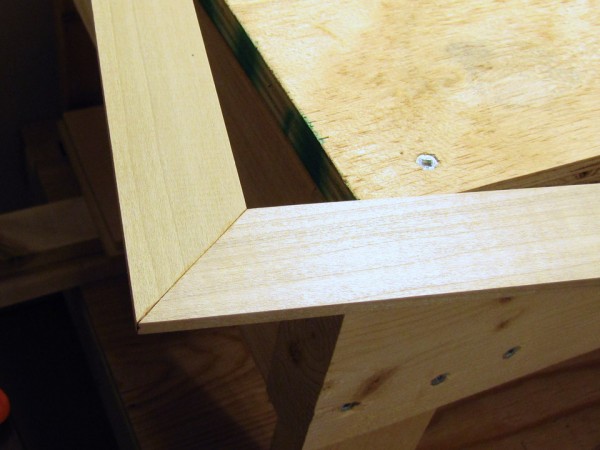
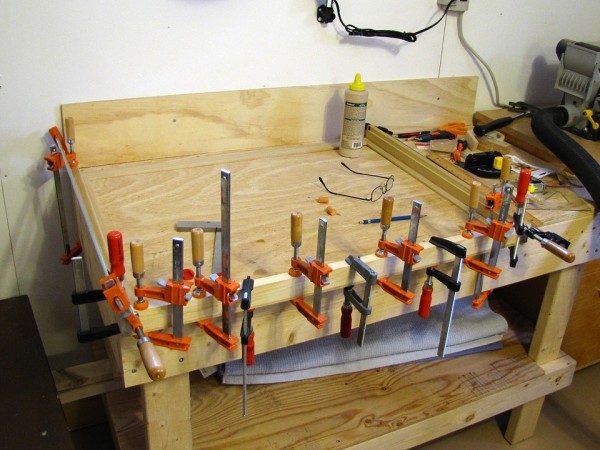
I made the frame in two layers, a 1½” × ¼” (38mm × 6mm) face frame with nicely mitered corners, backed by a ¾ × 1½ (19mm × 38mm) deep structural frame with simple butt joints at the corners. Everything was held together with Titebond III carpenter’s glue.
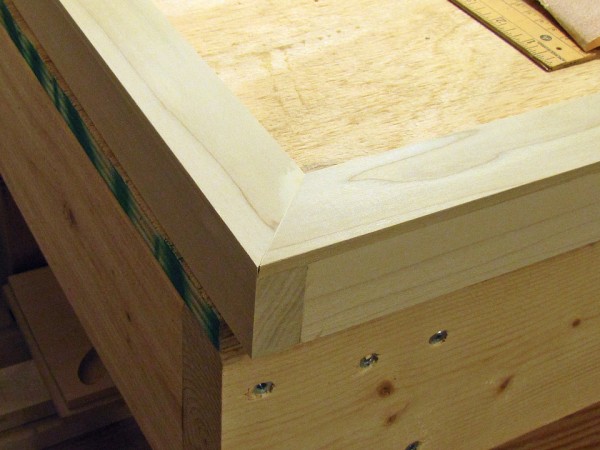
I rough cut the miters on my bandsaw and then finished shaping them with a sanding block. They’re not perfect, but since the frame would be painted, a bit of wood filler took care of any imperfections.
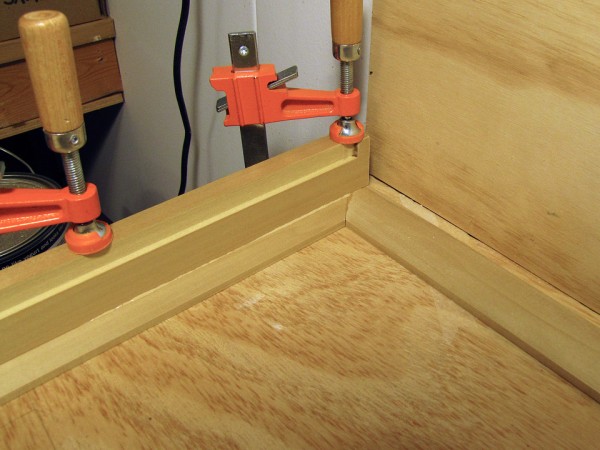
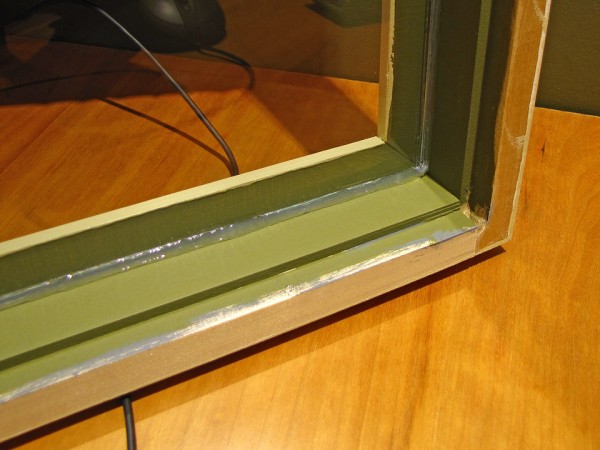
The two side rails and the bottom rail of the structural frame have a rabbet cut along their inner edge, the back-to-front depth of which equals the thickness of the plywood I used for the display board (11mm). The side-to-side depth is about ¼” (6mm). This design ensures that there are no visible gaps between the frame and the display board.
After gluing and clamping one side rail to the face frame, I trimmed the top and bottom rails to length so that the opposite side rail would be flush with the opposite face frame. Before being glued to the face frame, the top rail then had three 5/16″ (8mm) holes drilled in it to fit over dowels protruding from the top of the display board.
The exposed end-grain is on the vertical pieces, so that from the left and right sides, no joints are visible on the frame, giving the illusion that the entire frame is mitered. The ends are visible from above or below, but you would need to stand on a chair or crouch down on the floor to see them.
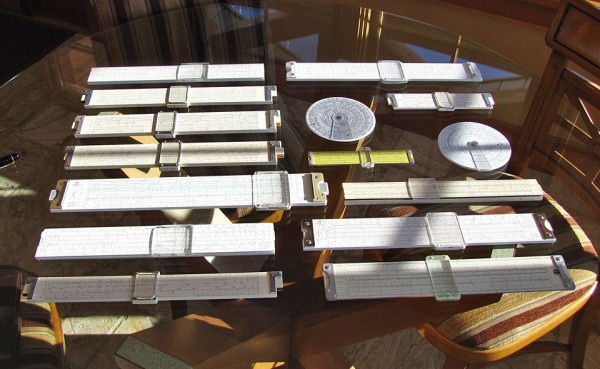
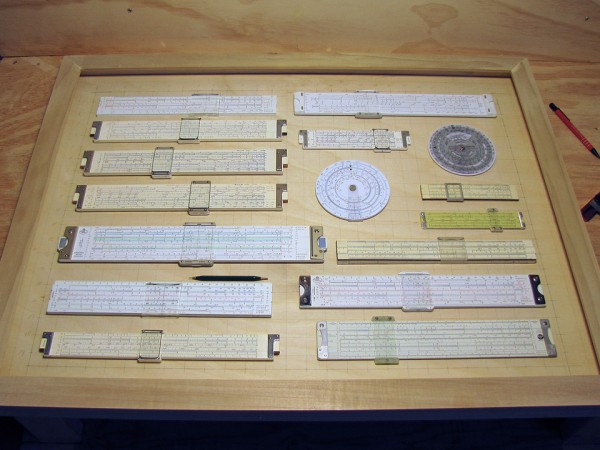
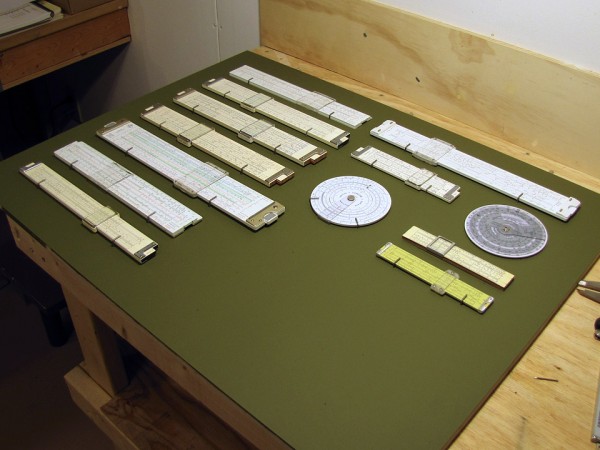
Two years earlier, I had laid out all my slide rules on a table, taken measurements, and taken a photo.
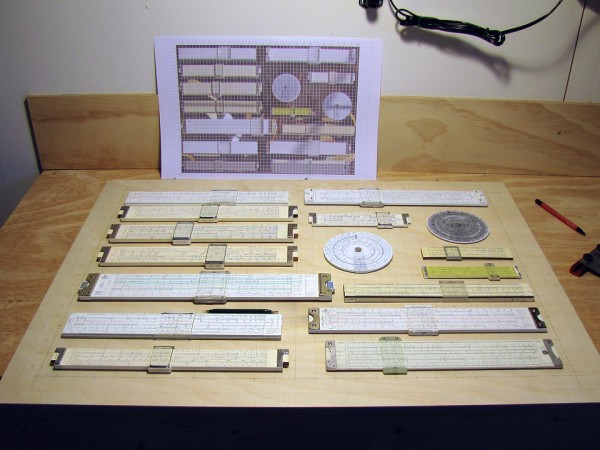
Unfortunately, I lost the measurements I took (I should have written them in my notebook), but using the photo, the known dimensions of the slide rules in it, and the perspective distortion removal facilities of the excellent Picture Window Pro photo editing program, I was able to recreate a scaled image of the original layout. I transferred this to the 11mm (7/16″) birch plywood display board by drawing a grid on both the image (on the computer) and the board (using ruler and pencil).
I made a few small changes from the original to fit in a tiny Soviet pocket rule given to me by a friend. After arranging the rules on the display board, I test fitted the frame to make sure I’d left enough space around the perimeter.
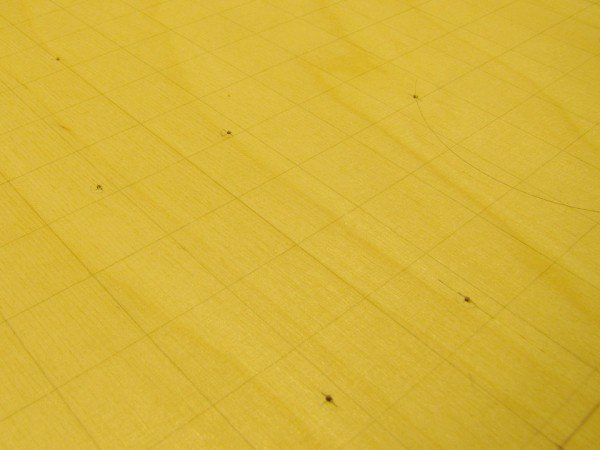
Once all the slide rules were in place, I marked the locations for holes to hold 0.056″ (1.4mm) music wire supports. To ensure I’d be able to recreate the same alignment of the rules after the grid was painted over, I consistently positioned the two holes for each of the straight rules at 1.3 and 10/1.3 under the D scale. The holes were drilled with a 1.5mm drill bit, giving a light friction fit.
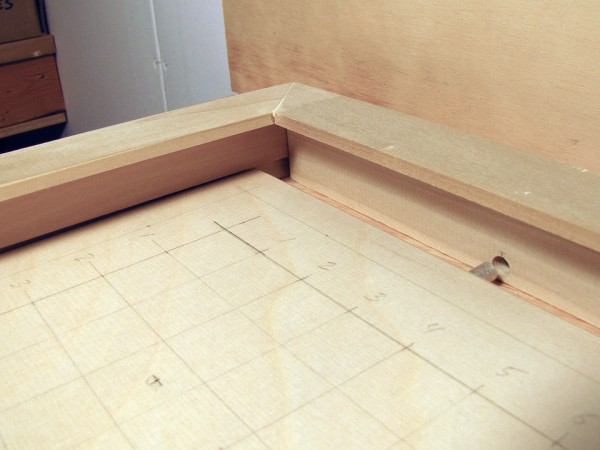
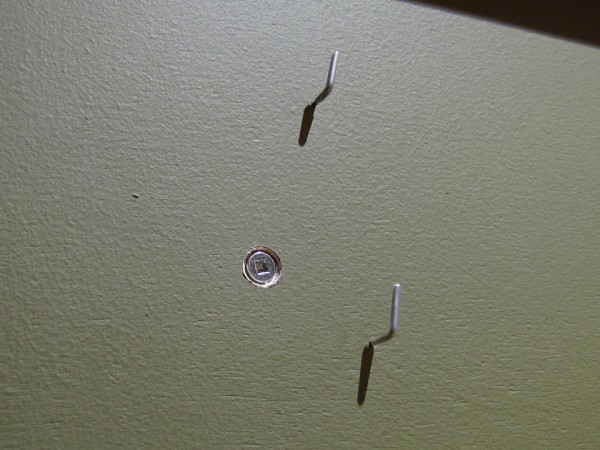
The photo below shows how the frame is held to the display board. 9/32″ (7mm) dowels protrude from the top of the display board, and fit loosely into the 5/16″ (8mm) holes in the top rail. The side and bottom rails are rabbeted so that the frame overlaps the edges of the display board. The dowels are actually ¼” (6mm) wooden dowels with a piece of tightly fitting aluminum tubing slipped over them (a 7mm hole is a bit large to safely drill into the edge of an 11mm sheet).
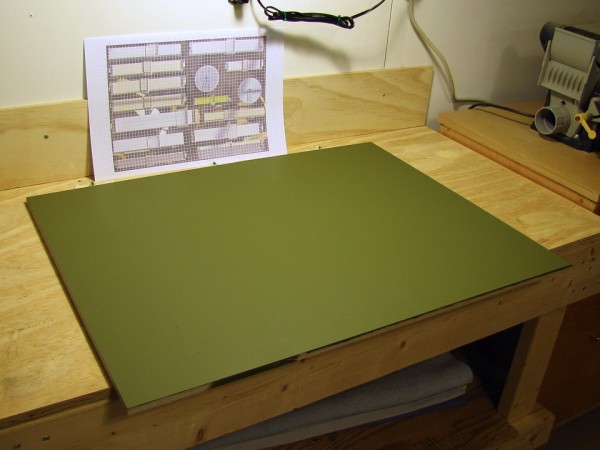
With all the holes drilled, it was time to paint the display board. I used one coat of medium grey latex primer, followed by one coat of Devine “Jacquard”, both applied with a roller. Although the wall the display would hang on is a different colour (Devine “Roast”), I chose the colour to match the walls of our study, which would be visible in the background.
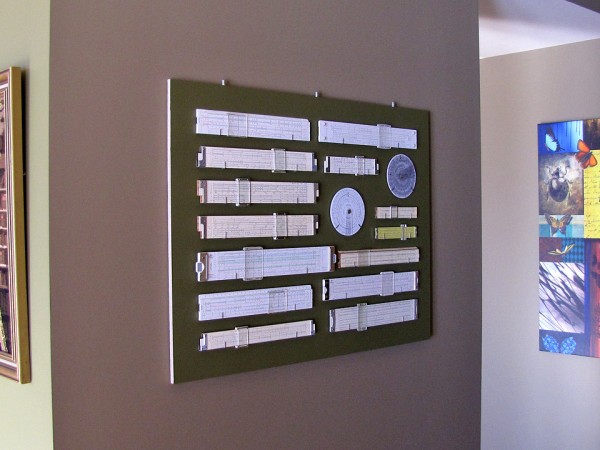
I installed the slide rules one at a time, making a custom pair of retaining wires for each one based on the thickness of the rule. Each wire goes all the way through the board. Here about three quarters of the collection has been installed.
To prevent scratching the rules, the wires were covered with clear heat-shrink tubing. The tubing was slid into place after bending the wire, cut off slightly past the end of the wire, and then shrunk with a heat gun. The tubing tended to curve inward at the open end, covering the sharp edges of the wire.
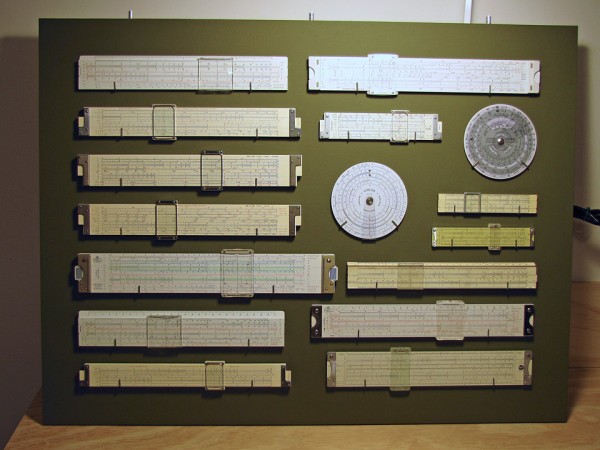
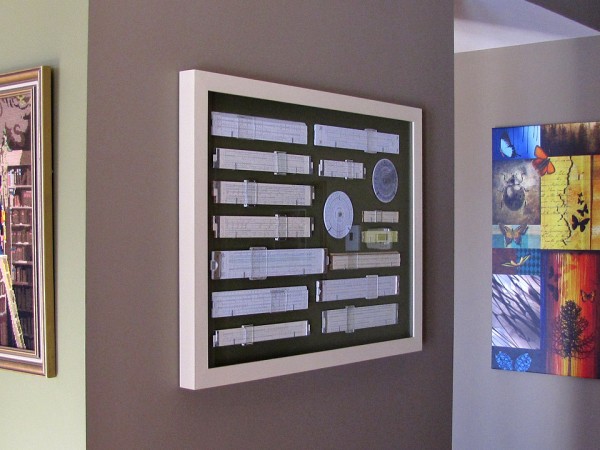
With all the rules in place, it was time to stand back and see if it all looked harmonious. I was quite happy with how it turned out, with my only minor complaint being the tight spacing between the enormous Faber-Castell 2/83N and the smaller Soviet rule next to it. An 8″ (20cm) rule, if there were such a thing, would have worked better there.
| Faber-Castell 111/38 | Aristo MultiLog 970 | |
| Keuffel & Esser 4080-3 | Keuffel & Esser 4181-1 | Jeppesen CR-2 |
| Sun Hemmi 259D | Concise 300 | Воронеж Pocket Rule |
| Hughes Owens 1777 | Pickett N600-ES | |
| Faber-Castell 2/83N | Воронеж Full Size Rule | |
| Faber-Castell 111/54 | Faber-Castell 2/82 | |
| Keuffel & Esser 4070-3 | Pickett N3-T | |
I painted the outside of the frame with Devine “Oat” (to match the furniture and bookcases in our study), and the inside to match the display board. The face frame was masked during painting so that the brush strokes would end at the mitered joints.
The glass is 2mm picture frame glass, from a local framing shop. I had this cut about 1/8″ (3mm) undersize, and then fastened it into the frame with 3M clear silicone caulking.
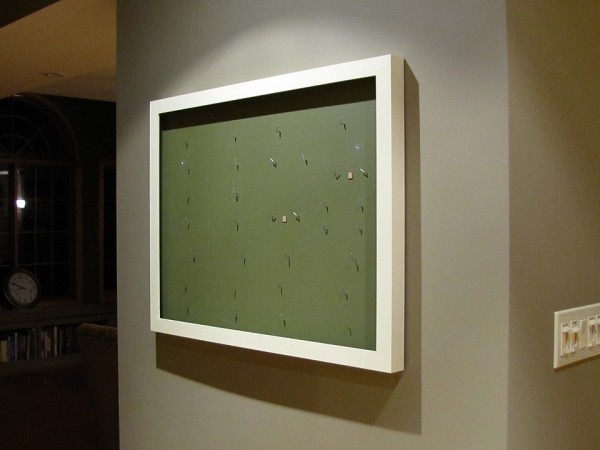
While the caulking was drying, I removed all the rules from the display board and mounted the board to the wall. Since the frame was to lift off, I didn’t want to risk lifting the entire display off of ordinary picture hangers, so I chose to securely screw the board to the wall. I drilled a pair of countersunk holes in the board where they would be covered by two of the slide rules, with one hole lining up with a wall stud (I used a plastic drywall anchor for the other).
Thick felt pads, like those used on the bottom of chair legs, were applied to the back of the board before fastening it to the wall to provide a bit of clearance for installing and removing the frame. I also put two very small cork pads on the front of the board near the lower edges of the two circular slide rules, as they tended to tip outward at the top otherwise.
The next step was to put all the slide rules back onto the mounted board. Since the wires are all friction fit, it was easy to pull them out slightly, drop the rule in place and position it properly (wires at 1.3 and 10/1.3), and then push the wires back in.
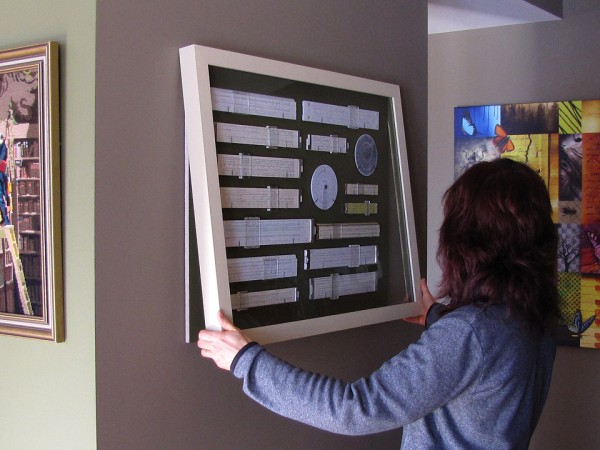
Installing the frame was then a simple matter of lining up the holes in the top rail with the dowels, lowering it into position, and letting the bottom nestle itself around the display board. The frame is just as easy to remove to access the collection later.
The completed display nicely suits our overall décor, not to mention the home of a couple of math geeks.
My slide rule collection is finally out of its shoebox, in a place where I see it every day. Furthermore, I can easily access any of the rules to use them or show them to friends.
Related Articles
If you've found this article useful, you may also be interested in:
- Faber-Castell 2/83N Novo-Duplex
- Faber-Castell 111/38 Stadia 360°
- Aristo Darmstadt Nr. 867U
- Aristo Multilog Nr. 970

If you've found this article useful, consider leaving a donation in Stefan's memory to help support stefanv.com
Disclaimer: Although every effort has been made to ensure accuracy and reliability, the information on this web page is presented without warranty of any kind, and Stefan Vorkoetter assumes no liability for direct or consequential damages caused by its use. It is up to you, the reader, to determine the suitability of, and assume responsibility for, the use of this information. Links to Amazon.com merchandise are provided in association with Amazon.com. Links to eBay searches are provided in association with the eBay partner network.
Copyright: All materials on this web site, including the text, images, and mark-up, are Copyright © 2025 by Stefan Vorkoetter unless otherwise noted. All rights reserved. Unauthorized duplication prohibited. You may link to this site or pages within it, but you may not link directly to images on this site, and you may not copy any material from this site to another web site or other publication without express written permission. You may make copies for your own personal use.
Charlie Hall
January 25, 2016
An excellent display unit for your slide rules. Your detailed description of the design and implementation was an enjoyable read. Congratulations !!
Charlie
Oscar Jr.
June 07, 2016
Hi Mr., I have been using your website for a long time to solve so many problems related to RC flying that you really deserve a cup of coffee for sure. But instead of that I would like to send you my slide rule as a gift to thank you for your valuable help. It is an Archimedes 12C (made in Brazil) that I used on high school (1973 to 1975). The original user manual I do not have (lost in past) but there is a copy (in portuguese) on web that I downloaded. Besides the gesture of appreciation I would like to leave this significant memory object to a person that will take care of it. My daughters and her children will not for sure. Well, if you are interested send me your address and I will send you this gift. Cheers!
Bill
October 11, 2016
This deserves the classic joke cartoon (often using an abacus) but here with a common slide rule behind glass in a small frame.
“In case of error, break glass” or “When power fails, break glass”